
Lauren Malhoit
GitHub for Beginners
GitHub is a very popular service to use as you're getting started on DDI automation. This blog will help you take those first steps.
Apr 7th, 2022
Getting started with automating your network management? Understanding how to use Git tools like GitHub is a great place to start. Luckily Men&Mice provides our documentation repo publicly on GitHub for you to see and play around with.
Documentation is a really safe place to get started and don't worry, we won't let you publish anything inaccurate. This blog is meant more to familiarize you with concepts using the Micetro documentation as an agent to help you learn. But there's a ton of Git and GitHub information out there to help you with these concepts and, of course, we're here to help if you have questions, as well!
What is GitHub?
GitHub is a very popular service which allows people to store their code in containers called repositories. The term "git" describes a distributed version control system designed by Linus Torvalds (creator of Linux) which allows users to easily find code, keep track of versioning, and modify code as needed.
I use the word code very loosely here, because you can also do things like write and track documentation, course instructions, or even books in GitHub. I personally got started several years ago learning helping out with Cisco DevNet instructions on GitHub. The purpose of this blog is to get you familiar with using GitHub, and then by the time you're creating scripts and code to automate your DDI environment, you'll know exactly what to do.
Where to Start?
If a repository (often called repo) is available to the public, you can start using it. We at Men&Mice create and modify our documentation in GitHub and through things like webhooks and APIs we bring it to you on our site where you're able to do things like pick which version of documentation you'd like to see based on the version of Micetro that you're using.
If you don't want to read the rest, feel free to just watch the video below!
First you'll need a GitHub account which you can set up for free at GitHub.com to start contributing. There are a few ways to use GitHub (via a browser, desktop app, or CLI), but we're just going to stick with the browser for the scope of this blog. Once you have an account, you can look for the Men&Mice repo. So, either do a search for "Men&Mice" in the upper left search bar or go ahead and click on this link to go directly there.
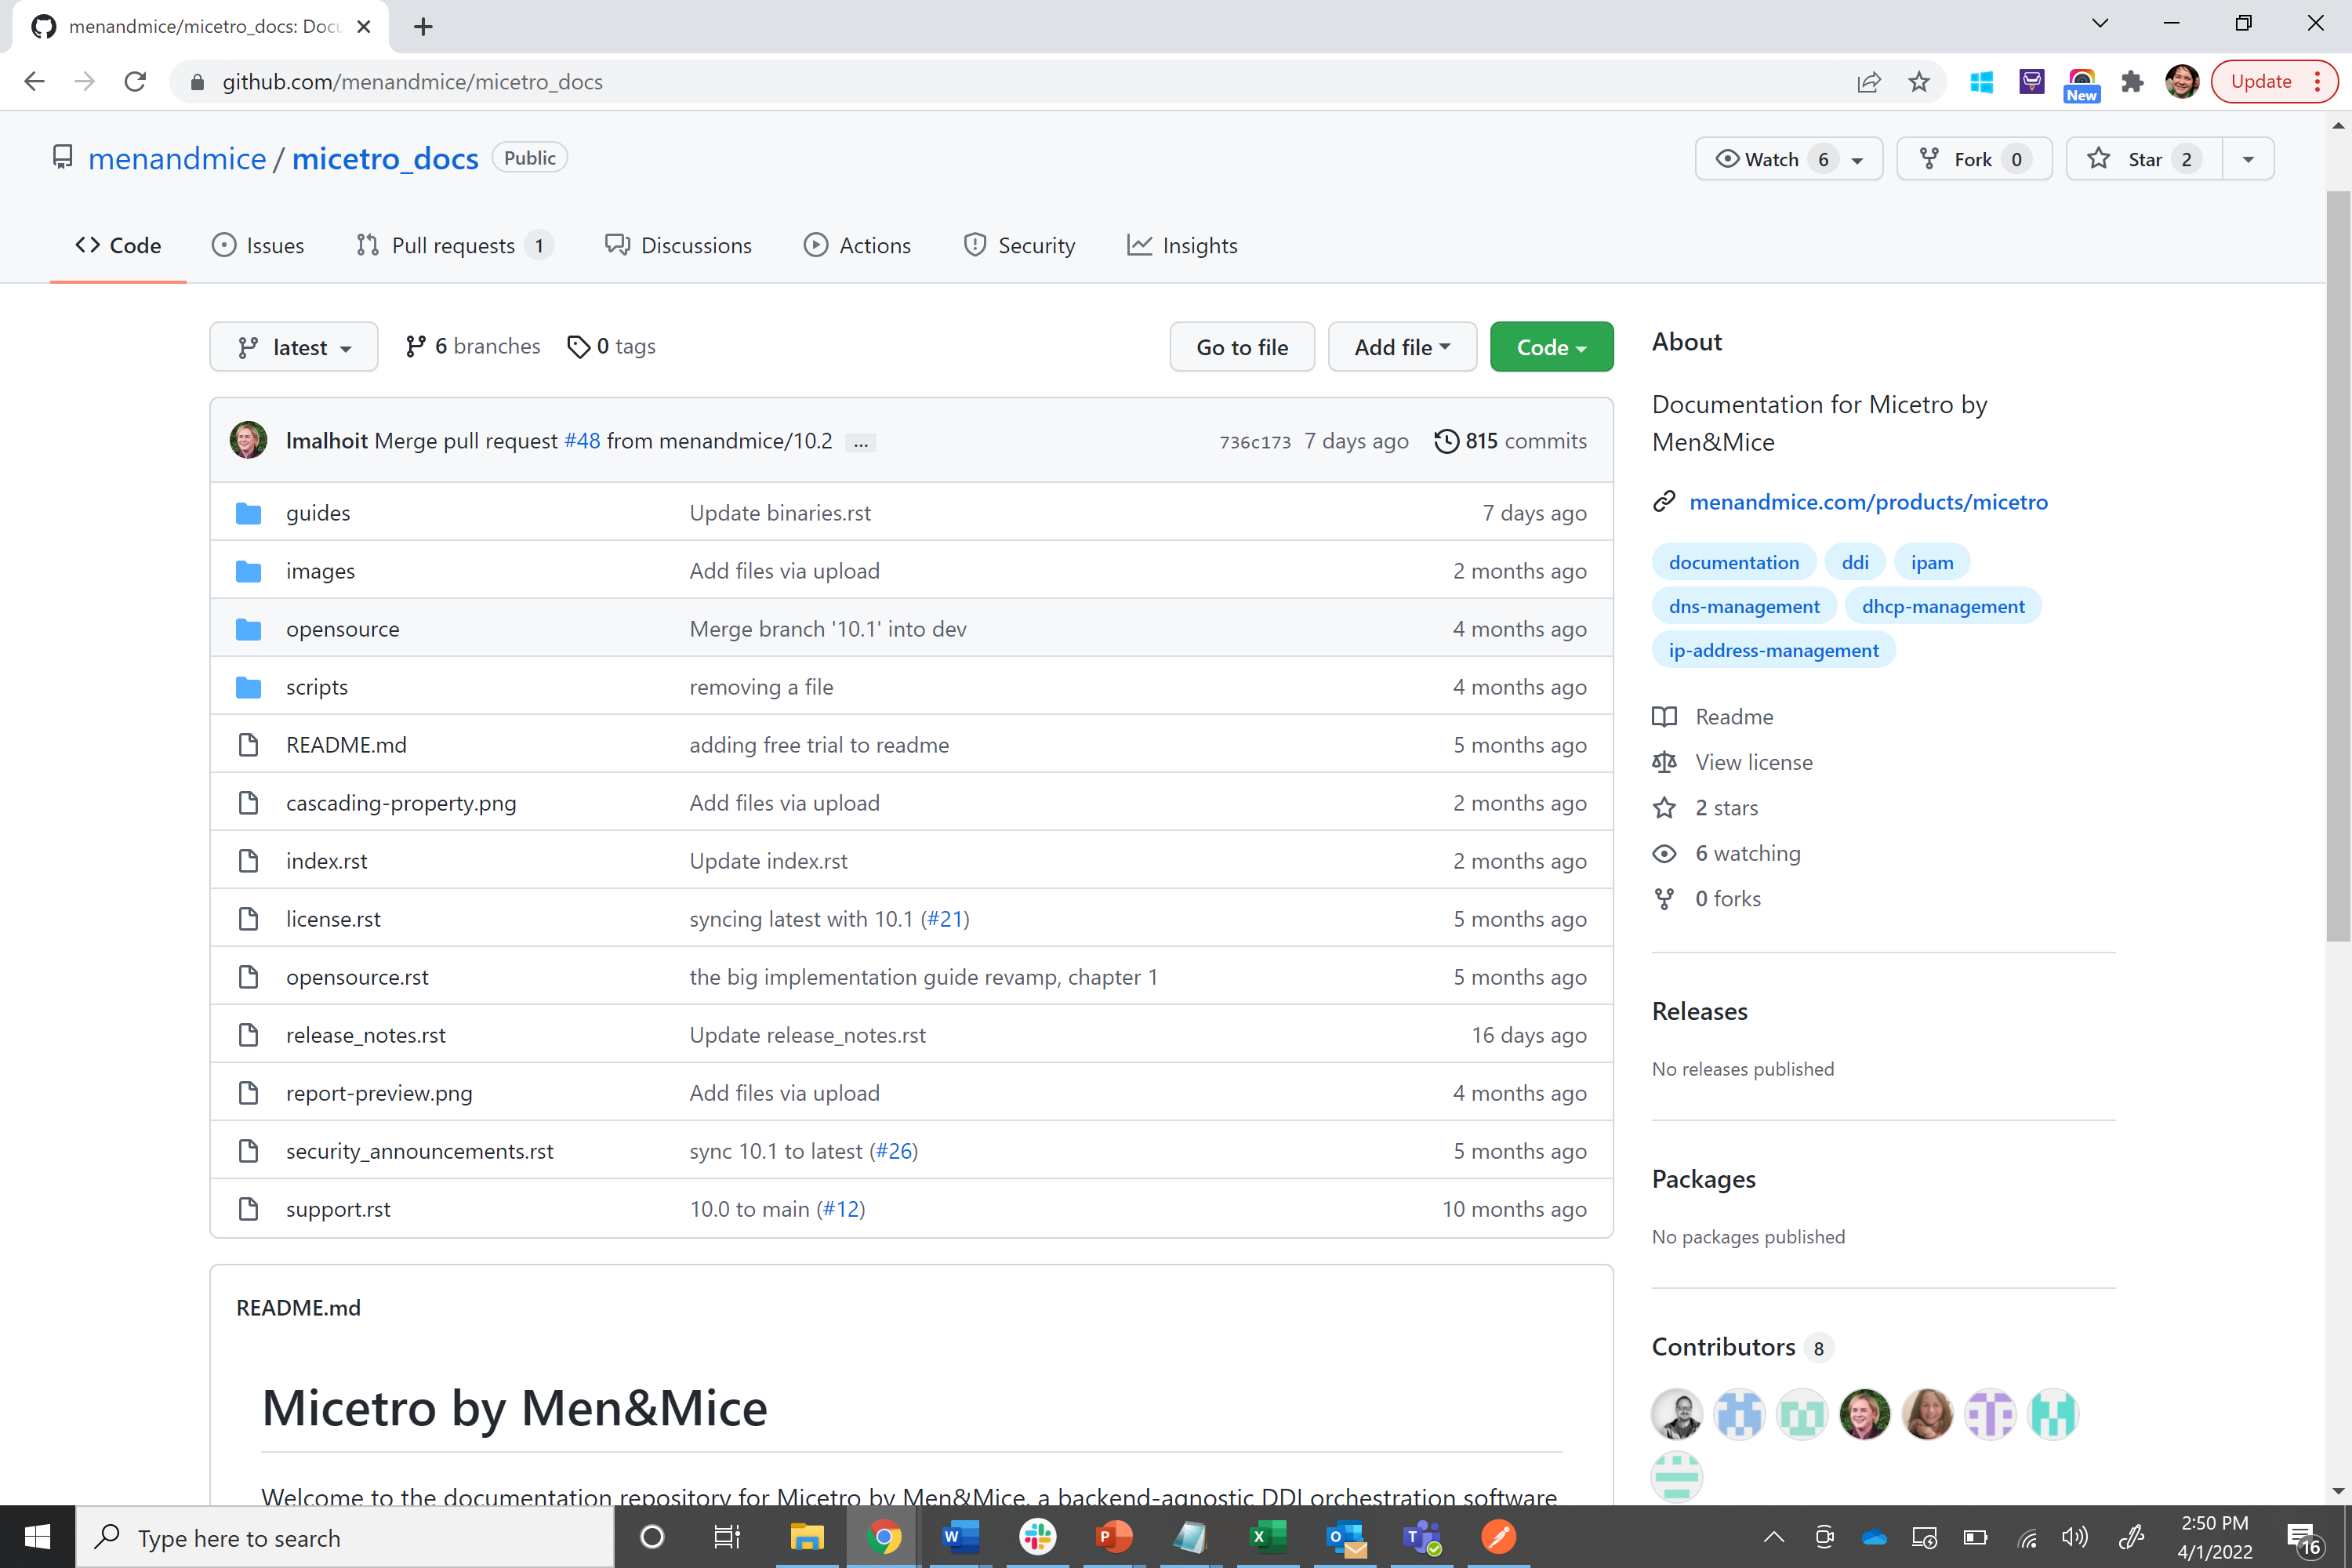
In the above image you see "menandmice/micetro_docs" where "menandmice" is the owner and the repo is call "micetro_docs." You can click on the "menandmice" owner here to see what other repos we have publicly available (more to come on that soon!).
Below that we see "Code" which shows us all the folders and files we have in this repo. Take a moment to look around. For example, if you go into the "images" folder you'll see a bunch of image files. If you were to click on one of these images you'd see the actual image.
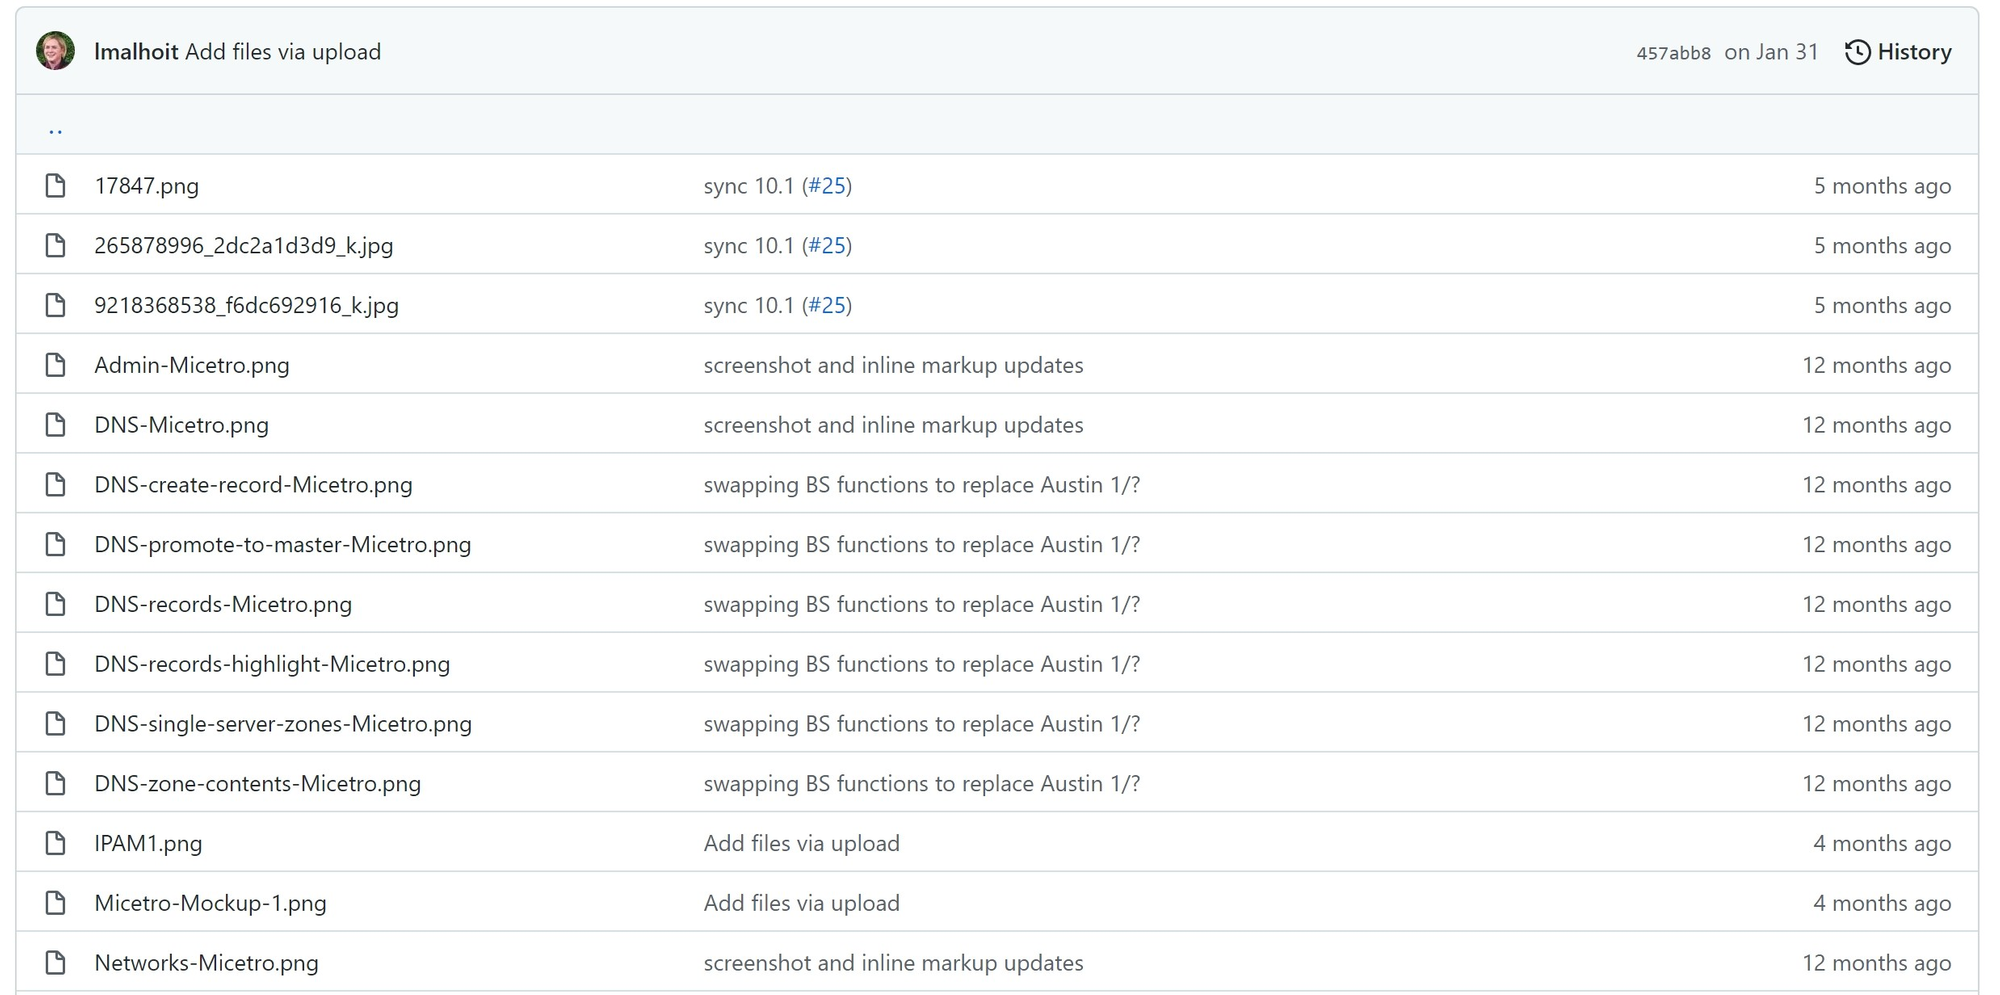
Now this seems like just a bunch of random pictures, but this is where we store all the images you'll find throughout our documentation. As we write the documentation, we just put in a link to that image which is what allows it to show up in the right place.
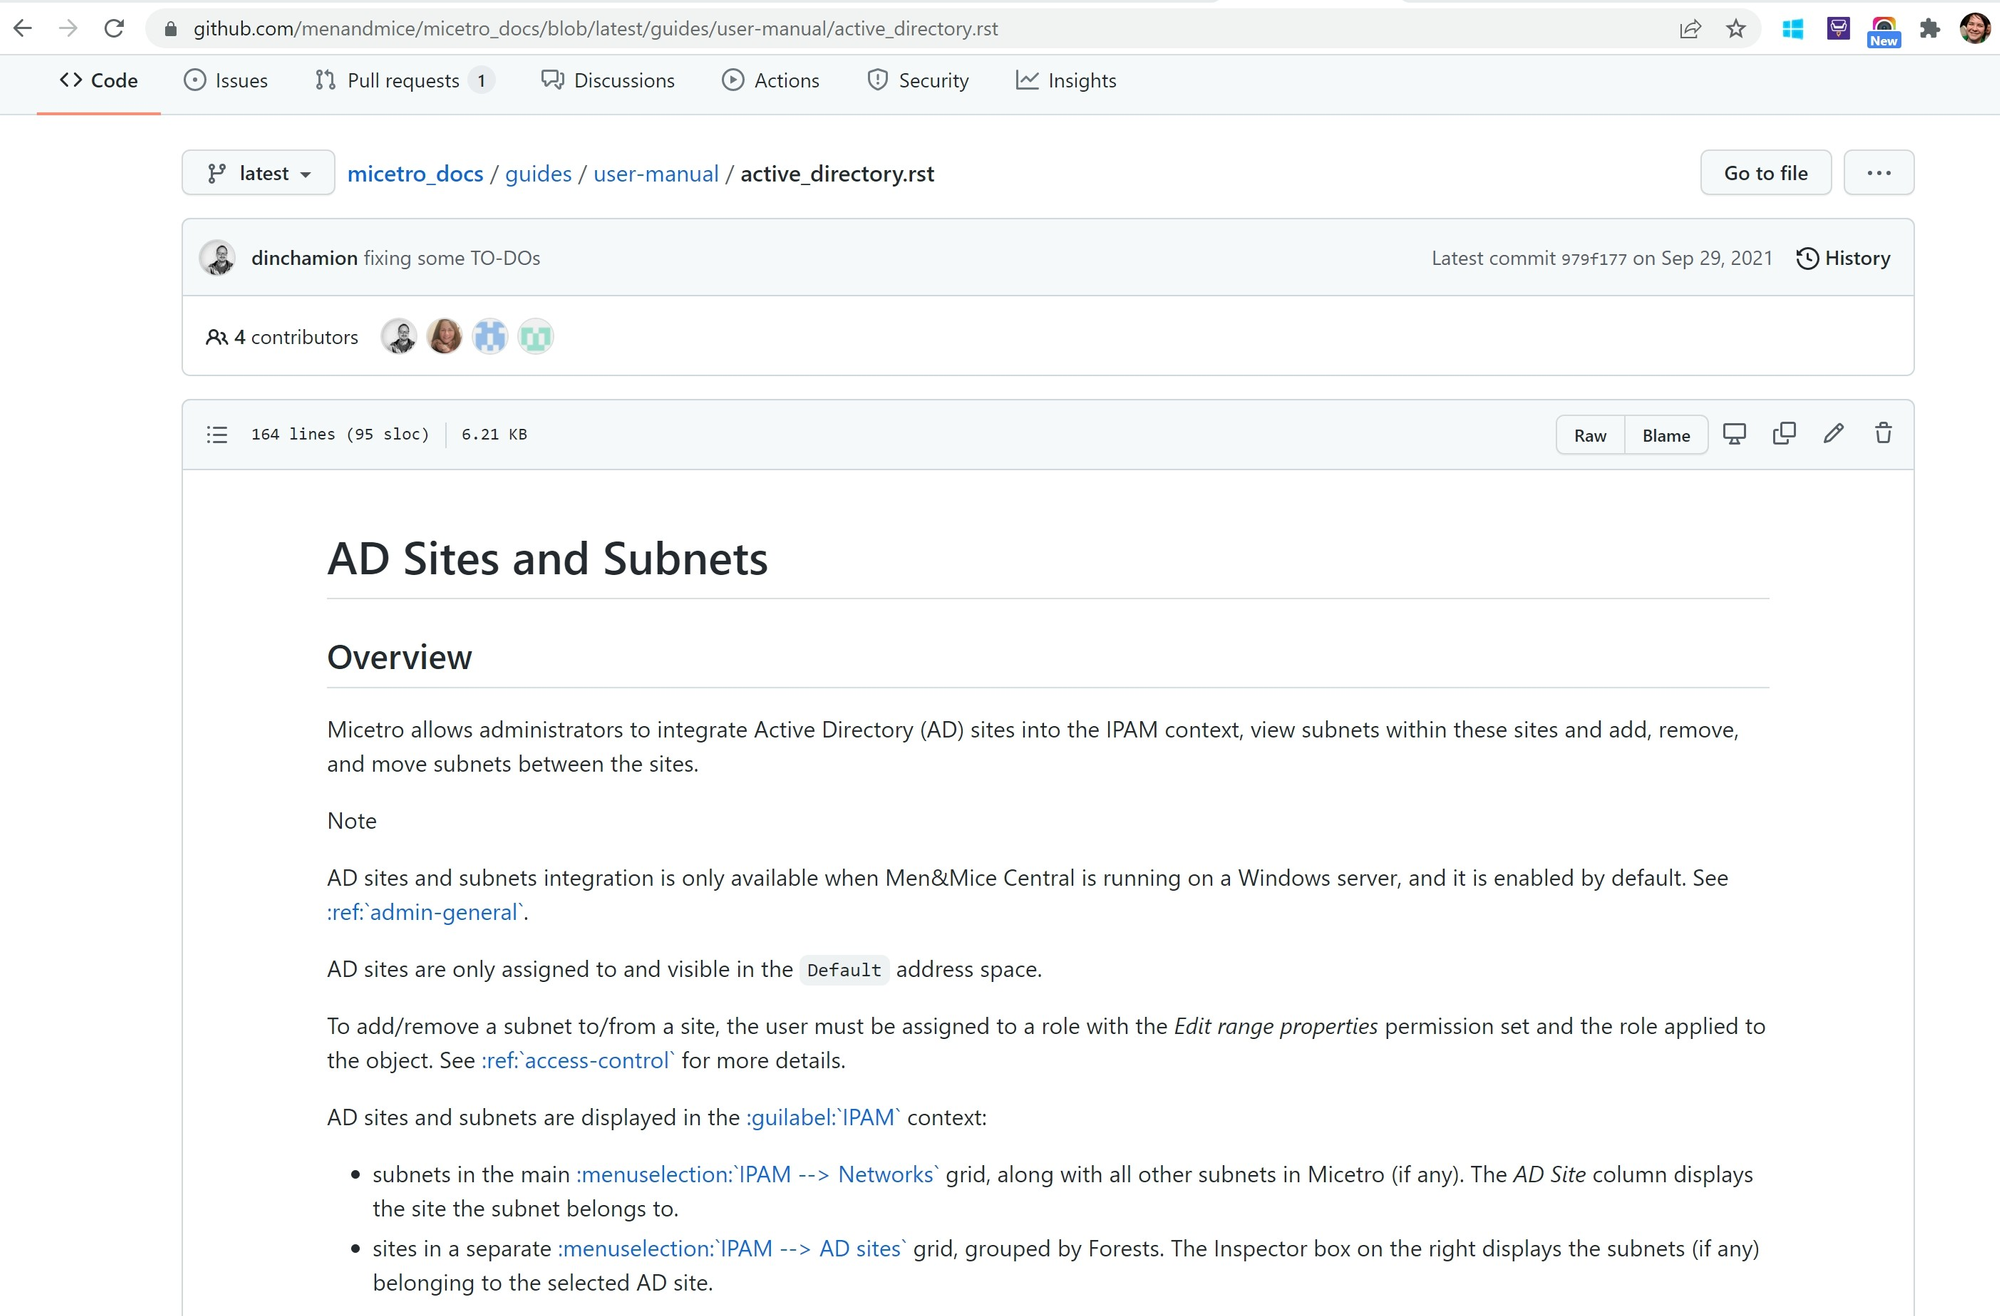
Let's go back to "Code" and then jump into "guides" for a moment. This is where we do our writing. If you're somewhat familiar with the Micetro documentation the structure may not be that off-putting to you, but if you're not that familiar you may try just clicking on the links I show in the image below to see the AD Sites and Subnets page while you become more familiar.
What About Version Control?
At the top of the image, you'll notice the word "latest" next to the navigation breadcrumbs. The "latest" version in our case is the latest version of documentation that's publicly available. This version is actually the exact same as 10.2 currently, because as of April 5, 2022, that's the most recent version. You'll also see other versions in there. If you're making changes directly to a version, which is not a best practice, you'll want to make sure you're making changes to the right version!
Let's Make Some Changes!
You might be nervous to come in and make changes to a company's or other owners code or documentation, but there's no need to worry because there are plenty of safeguards built in. So, let's go make an easy change as a user with no admin permissions over this repo.
Find what you want to change
First, let's go to docs.menandmice.com to see the documentation in its finalized form. I happened to notice that there's one spot on this page that says "DHCPv5" when it should say "DHCPv6."

Fixing simple typos, grammatical errors, and other things like that is definitely the easiest place to get started. Once we're on that page, at the top click on "Edit on GitHub."

So instead of having to search through the folders to find the right place to start editing, this takes you directly to the correct GitHub page: micetro_docs/guides/user-manual/dhcp_servers.rst
Forking
Forking is essentially just creating a copy of a repo. As I mentioned above, making modifications directly to a repo is not a best practice, even if you own the repo! So if you click on the "Fork" button, GitHub will automatically make a copy of this repo for you and place it in Your Repositories.
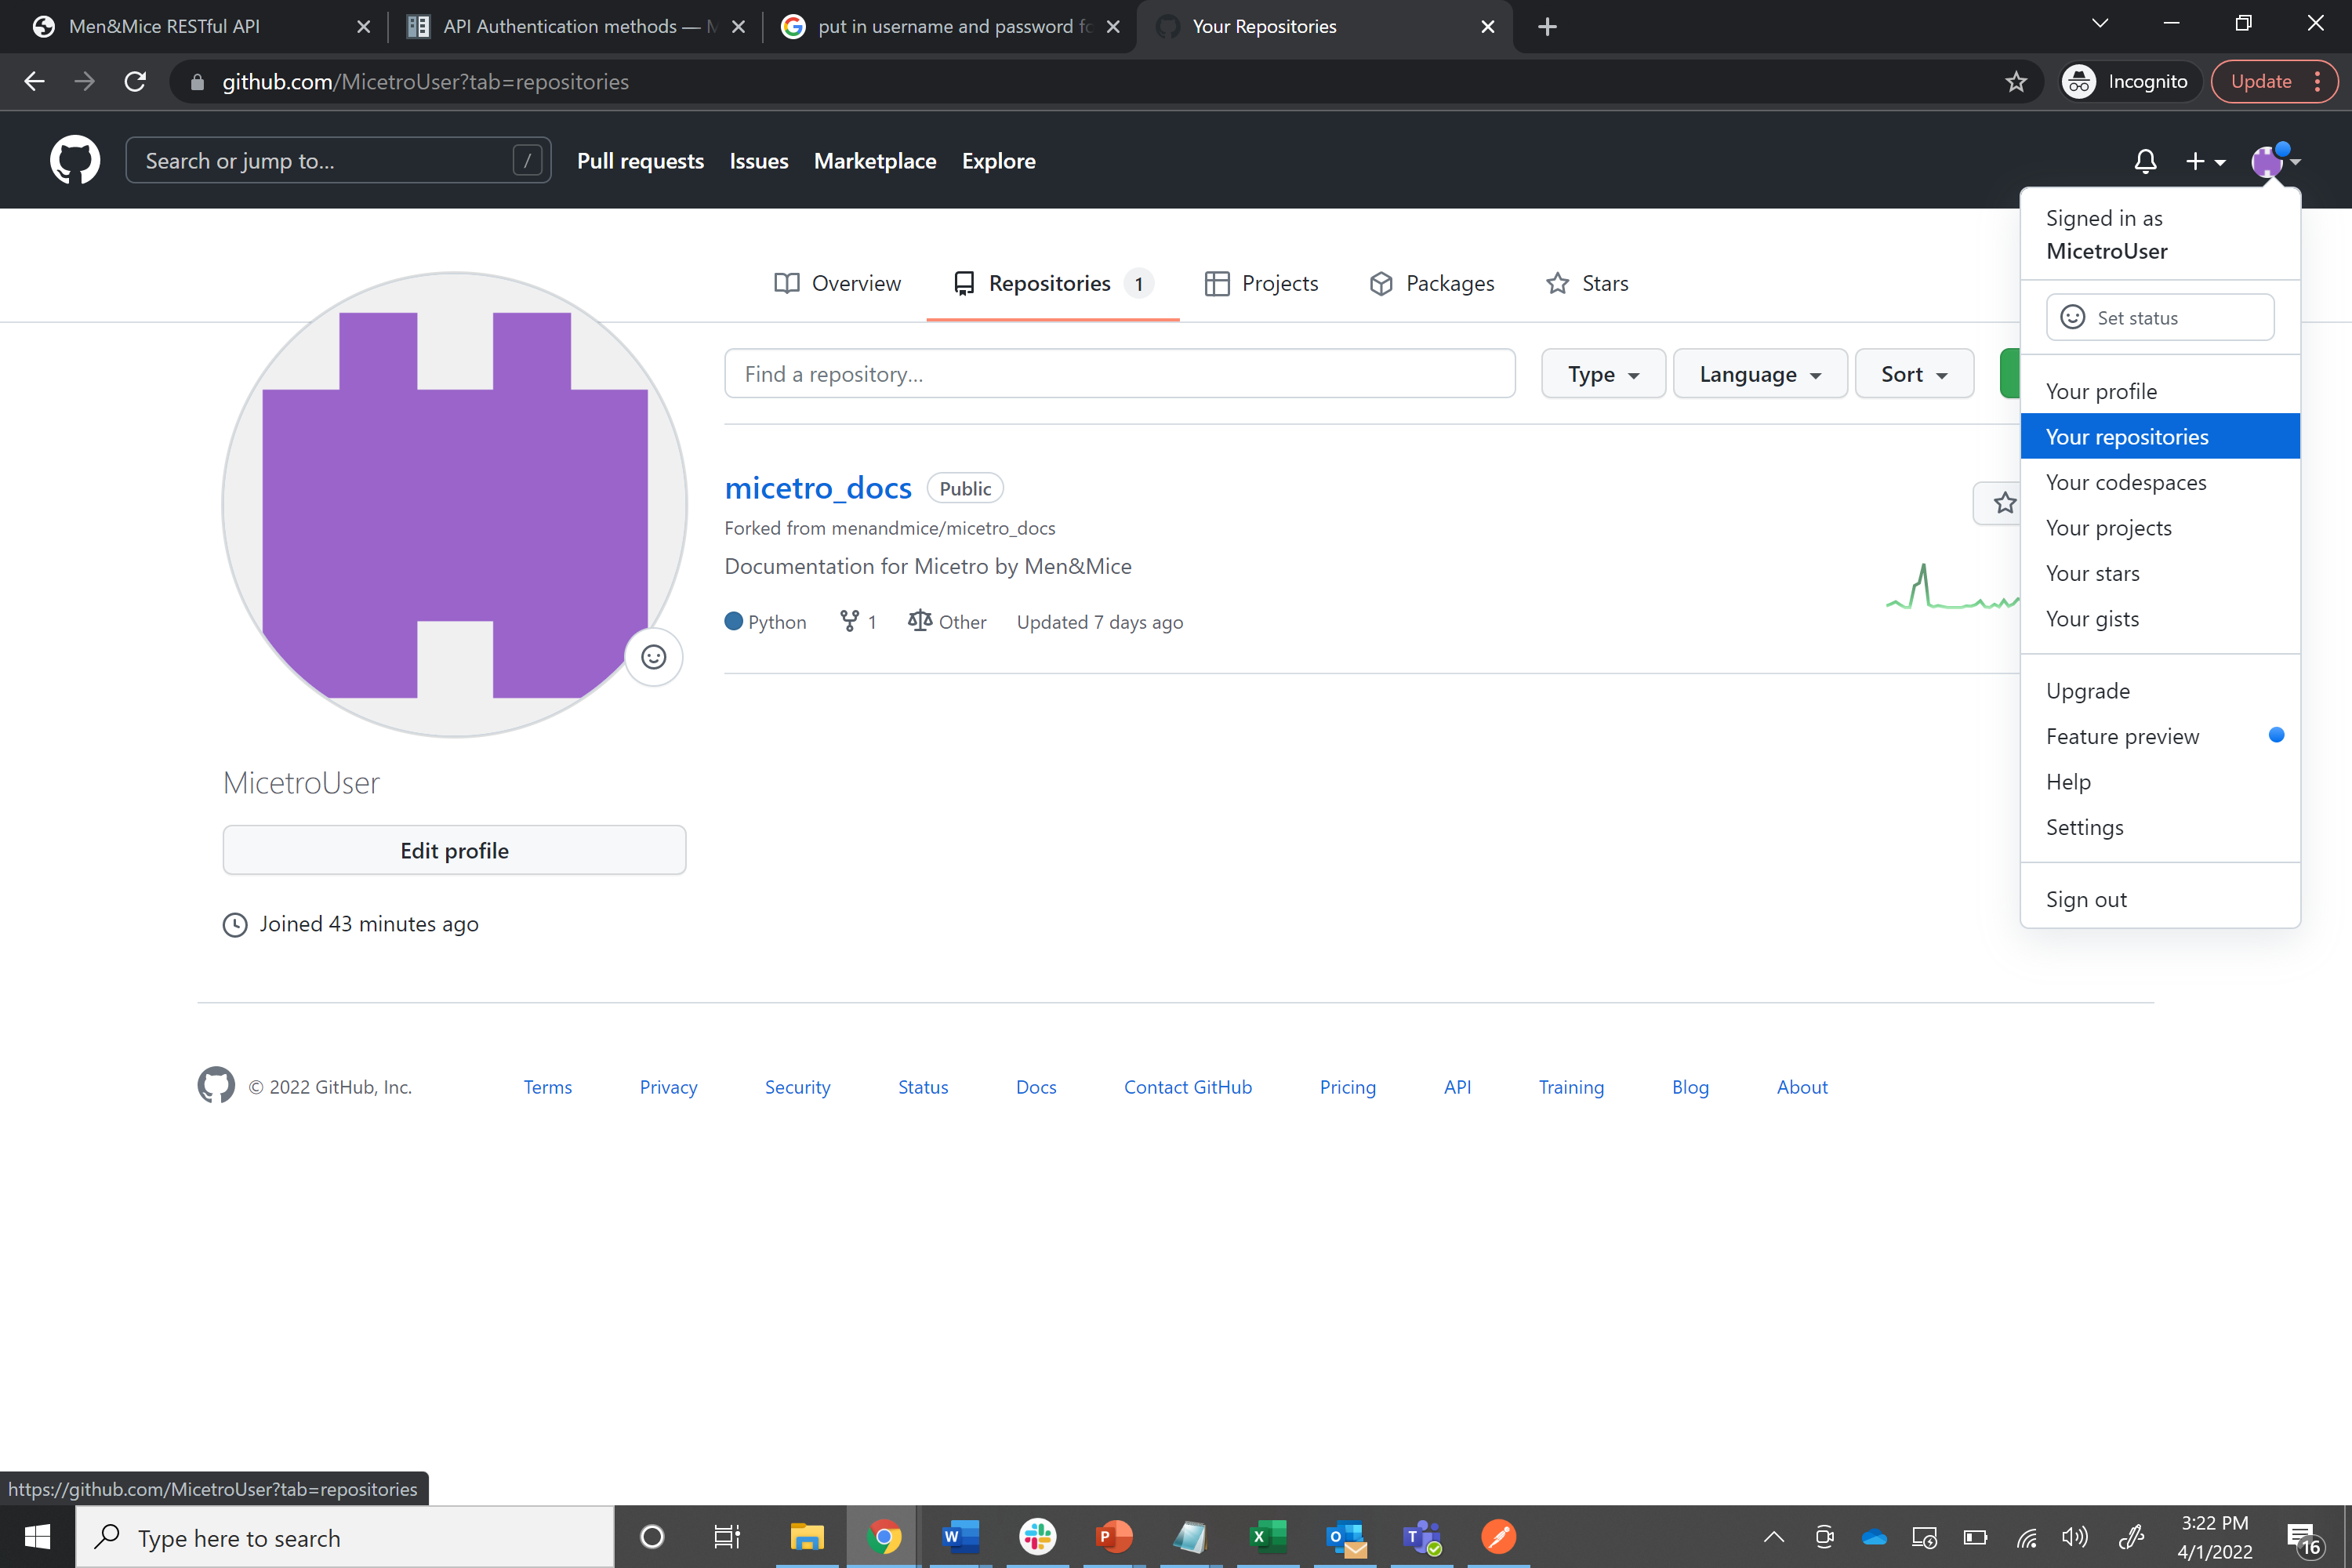
Now if we go back to see our own repos, we'll see that a copy of micetro_docs is in there. Click on micetro_docs here, and you'll see the exact same folder structure as what we found under menandmice/micetro_docs. Changes made under MicetroUser/micetro_docs will not affect the code/text in the original menandmice/micetro_docs, though.
Let's go to the same place we were before, but in our own repo now. (micetro_docs/guides/user-manual/dhcp_servers.rst). Remember to make sure you're working in the correct version!
Edit the File
Now you can click the pencil icon on the right hand side which will allow you to edit the file, which in this case means changing the "DHCPv5" to say "DHCPv6." If you're using the browser, you can use CTRL+F to just look for the change.
We can actually commit this directly because we created a fork, which means we're not making any changes to the original code/text. Once we've committed, now we can go back to the menandmice/micetro_docs repo and click on Pull Requests and then click on New Pull Request. A pull request just means that we'd like to make a request to the owner to merge our improved or corrected code/text with what's currently there.
Because we want to merge our code from our repo with the original, we'll have to click on "compare across forks."

On the right hand side you'll put your repo, in this case MicetroUser/micetro_docs and on the left you'll put menandmice/micetro_docs. Again, make sure you have the correct versions selected for both. You'll see the changes you're requesting to have made, the new will be in green and the old in red. If that all looks correct you can click on "Create pull request." Now the owner of the repo can see it and decide whether to merge your new code/text.
How can we go faster?
Once you're familiar with Git concepts you can actually do this much more quickly using the CLI and copy+paste. We'll go over that in a future blog. Are you looking to include more automation in your DDI environment? Reach out to us any time or let us know what you're looking for! Tweet us or reach out to me directly on Twitter or LinkedIn.
